Colorful Felt Advent Calendar Tutorial
It’s getting super close to that time of the year when we start buying advent calendars, so we can enjoy a chocolate or candy each day until Christmas rolls around. But why not make your own calendar this year? Then you can get it out every advent and all you need to do is fill it with sweet treats – this saves you money and it saves on plastic waste, which is a win win, don’t you think?!
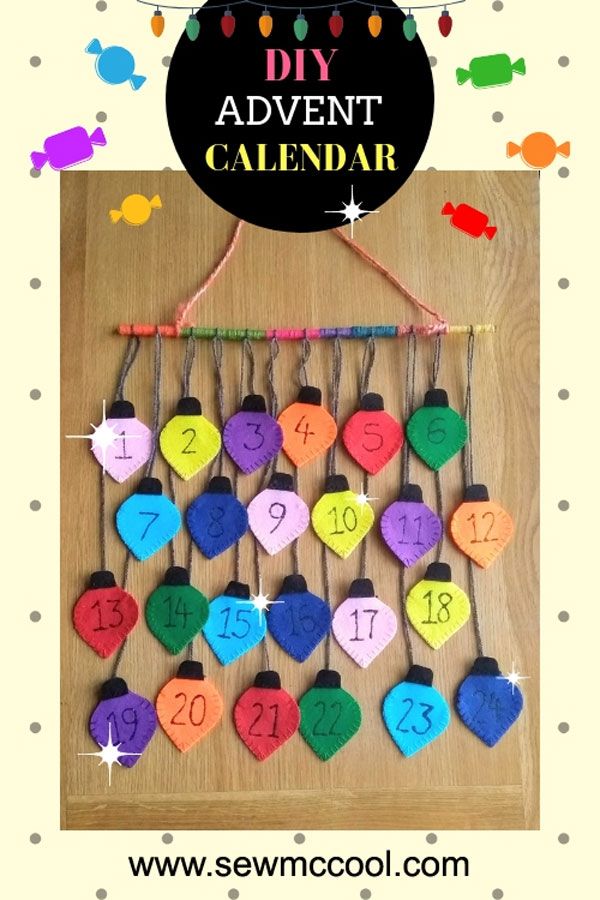
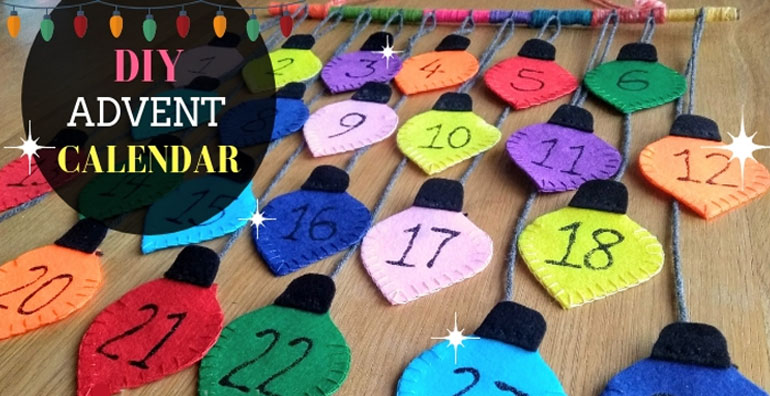
We have made a cute hanging fairy light advent calendar with each sweetie pouch in the form of a colorful bulb. When you come to make your own, there’s no need to copy completely, you could limit your color palette to match your decor and you could even make mini stockings instead of lightbulbs.
Tools & Materials

- Scissors
- Needle
- Threads to match each lightbulb color (you could just use one color for all)
- Felt in lots of colors (we have 8 colors plus black felt)
- Glitter glue
- Candies (for getting the size of each pouch… and for snacking on!)
- Cardboard (to make templates)
- Pen/pencil (not pictured)
- Fabric glue
- A stick/pole
- Thread or yarn (to hang the advent calendar)
Step 1

Start by drawing a template onto your cardboard, large enough to fit in your candies or chocolates – the amount of people the calendar is for will indicate how big the pouch will need to be.
Don’t forget to draw a template for the top of your lightbulb – this is what the black felt is for.
Step 2

Cut out your template and use to draw out all of your pieces. Because we had 8 colors of felt, we needed 3 pouches of each color, so drew out 6 bulbs onto each colored felt.
You will only need 24 black top pieces.
Step 3

Cut out all of the shapes you need and choose a color order you want to use in your advent calendar design.
Step 4

Stick the black tops onto 24 of your lightbulbs (the rest are the backs for the pouches, so don’t need tops on them.
Step 5

Next, you will want to choose a glitter glue (or another way to add the calendar date numbers) and draw out a number onto each of your 24 light bulbs.
If you want to muddle up your numbers, you might want to order the colors differently… however, this might get a bit confusing, so it’s up to you!
Step 6

Once you’ve waited for the glitter glue numbers to dry, you will need to make the pouches. This could be time-consuming as you might opt to sew around the edge of each. We used a blanket stitch to create the pouches – DON’T FORGET to leave the top of the light bulb open!
Step 7

Cut a small hole into the back piece of felt, at the top and thread through whichever color thread or yarn you please. Tie a secure knot and leave a good length of your thread for tying onto the stick.
Step 8 (optional)
If you didn’t want to use a plain wooden dowel or stick, you could wrap it in ribbon or yarn, or you could even paint it.
Step 9


Tie a piece of yarn or string onto the stick to create a way to hang it up.
Step 10


Tie your lightbulbs onto the stick in whichever layout you prefer. We did 4 rows of 6 lights, with the dates in order, but you could mess around with various layouts before you actually tie anything onto the stick.
Pop in your chocolates or candies and hang your advent calendar in pride of place, ready for December 1st!